Record in Panopto
For students on how to create a recording in Panopto.
Using Panopto, you can upload videos to Moodle that you recorded with your phone or another app or device, or you can record directly in Panopto. This page explains how to create a recording directly in Panopto.
If you are making a recording for a Panopto assignment in your Moodle paper, you may also be able to record directly to Moodle. Please check your assignment instructions carefully, and see the Panopto assignments page.
In the short video below, Professor R.R. Rhubarb leads you through the basics.
Step-by-step instructions
Access Panopto and set up your recording
- On your desktop, double-click the Panopto icon to open the Panopto Recorder program. Alternatively, you can search for the program in your system, or follow this link to go to the University of Waikato's Panopto server: waikato.au.panopto.com
 Note: To access Panopto, you can also go to the black band at the top of all your Moodle pages and select Useful Links, then select Panopto recordings in the drop-down menu.
- If prompted, click on Sign in at the top right corner.
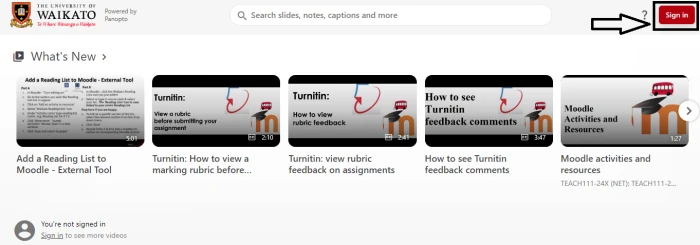
- Sign in with your standard Waikato username and password.

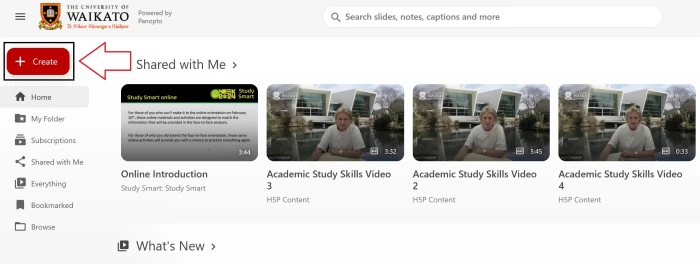
- If you accessed Panopto via the Panopto server link, select the red Create button at the top left of the screen.
- Select how you would like to record from the drop-down menu.
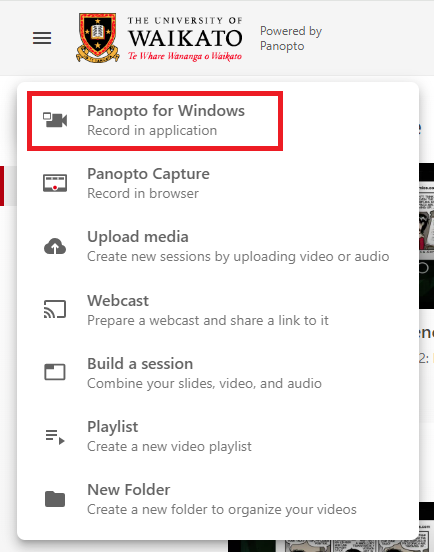
And if prompted, confirm that you want to Open Panopto or Open Panopto recorder.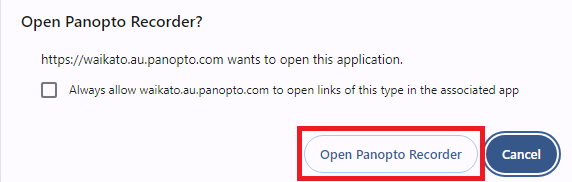
- When the Panopto Recorder opens, select the drop-down arrow to choose the Folder where you want to save your recording.

Note: If your desired paper/folder is not available, the folder or your access to the folder may not be correctly set up. You can record to any other folder, and move the recording later. You always have access to a personal folder called My Folder.
- Name your recording so that it is easy for you and everyone else to find.

- Select Primary Sources and Secondary Sources (e.g. audio, video, screen, PPT, Document Camera).
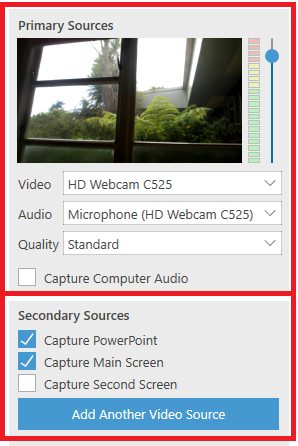
Note: Ensure that you have selected an Audio source, and the sound meter shows audio levels are OK, or your recording will be blank.
Record
- At the top left-hand corner, select the Record button to start your recording.

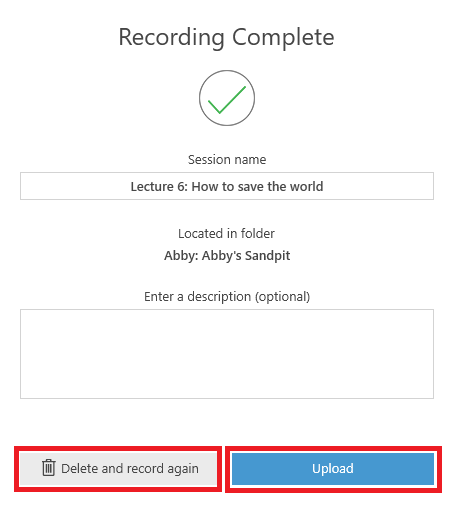
- When you have finished recording, select Stop. This step saves your recording. You can Pause and Resume at any time during recording, but this doesn't save your recording.

- Select Delete and record again if you are not happy with your recording and want to re-do it, or Upload if it is satisfying.
After recording
- After selecting Done or Upload, the recording uploads to the Panopto database, then processes, then becomes available to view, edit and share.
- You can log out after you select Upload (make sure you don't log out before you do this), the processing will not be affected.
- Processing may take up to a few hours. The Manage Recordings window that appears after you upload shows you the status of your recording.
 You can select Resume to continue recording, Share, Edit, or View, from this window as the links become available.
- To return to your recording later and view, share, or edit it, sign back into Panopto, then go to the folder in step 6 above.
Extra tips on recording
The video below shows you how to create a recording if you do not yet have the Panopto app in your device, then how to record with the app.
If you have already downloaded Panopto, you can double-click on the app to start or use your browser, as in step 1 above.